Realistic Ragdoll Physics Controls
Master Doctor Mode, injury inspect, revive shortcuts, camera modes, and platform inputs so every hit teaches you something.
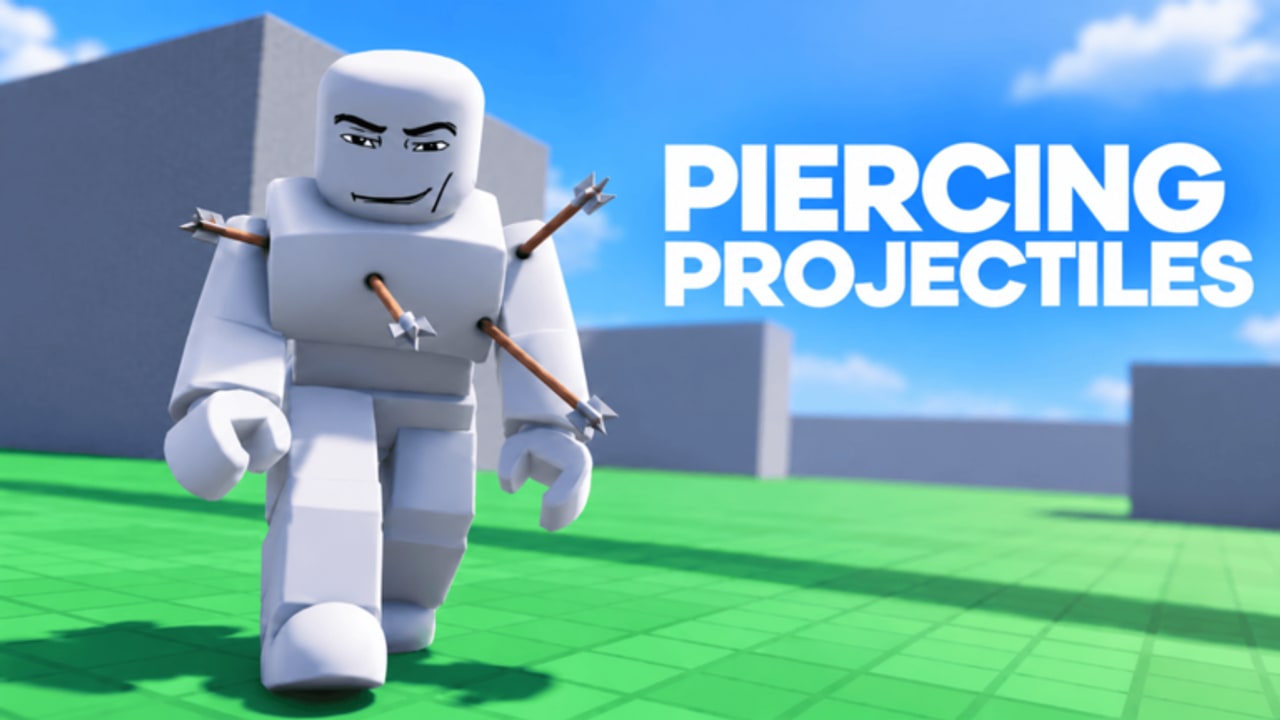
Controls decide whether Realistic Ragdoll Physics feels like random chaos or a readable physics lab. This page covers how to aim, inspect injuries, revive subjects, switch camera modes, and keep sessions stable across Desktop, Console, Mobile, Tablet, and VR. Pair it with Getting Started if you just joined, then deepen toggles on the dedicated Settings guide before testing tools on Weapons and environments on Maps and Hazards.
Official listing name is Realistic Ragdoll Engine by No Knees!; players also search Realistic Ragdoll Physics. Listings still commonly show solo / Max Players 1 — see Multiplayer status — so every binding exists to help you run experiments, not to coordinate a squad by default.
Core habits that matter more than memorizing every key
- Inspect before you reset. After a hit, check what actually broke.
- Prefer first person for precision. Ankles, wrists, and clean headshots are easier up close.
- Treat slow motion as a primary control. Readability beats raw fire rate.
- Change one variable at a time. Same weapon, new angle — or same angle, new hazard.
- Confirm bindings in Settings after patches. November drops remap UI more often than blogs admit.
Doctor Mode, V, and injury inspection
Injury feedback is the heart of the sandbox. Doctor Mode is the diagnostic overlay; enable it in Settings so vitals, trauma, and oxygen-style readouts stay available. Full toggle walkthrough: Settings.
- Hover for injuries: on Desktop, move the cursor over damaged body parts to see injury popups when the UI supports hover tooltips.
- Doctor Mode in Settings: turn the medical / diagnostics option on before a serious lab session.
- Press V to inspect: many players use V as the inspect / Doctor Mode shortcut during a session. If your build remaps UI, open Settings and confirm the inspect binding still points at injury diagnostics.
Use inspection after every meaningful hit. A leg shot that forces a crawl is a different experiment from a torso hit that only staggers. Head trauma and organ-level outcomes show up more clearly when you stop to read the overlay instead of instantly resetting.
When you finish reading, decide the next step: another precise shot, a push into a hazard, a freeze-then-melee combo, or a revive. That decision chain is what separates clip makers from button mashers. More combo ideas live on Tips.
Revive shortcuts — R, Y, and the defibrillator
Community reports in November 2026 commonly cite:
- R — revive all dummies
- Y — auto-revive toggle / auto-revive behavior
- Defibrillator tool — staged single-subject heart restart (including after burns or zombie-style returns)
Bindings can change between Update 5, 5.5, the BIG CONTENT UPDATE, and Update 7. If R or Y do nothing, re-open Settings and search for revive labels before assuming the feature was removed. Revive-and-reuse keeps physics lighter than endless spawns — especially on Mobile.
Camera and aiming
- First person — best for precision limb work, sniper lines, and placing C4 or careful melee swings.
- Third person — better for watching full-body tumbles, fan launches, and staircase multi-impacts.
- Toggle camera as needed during a single experiment: aim in first person, then pull out to third person before the fall so the ragdoll reads on screen.
Community control notes often mention camera toggle (commonly T), self-ragdoll (F), revive-all (R), auto-revive (Y), and inspect (V). Always verify in your current Settings menu. If a listed key does nothing, check whether Doctor Mode must be enabled first.
Slow motion as a control, not a filter
Slow motion is the difference between “something exploded” and “the left femur took the stair edge on impact three.” Turn it on (often via Settings sandbox sliders) before:
- Fan or wind-tunnel launches
- Stair drops and trampoline chains
- Freeze ray into crowbar or fire axe breaks
- Rocket straps, C4, or multi-dummy pileups
Record with slow motion on, then speed the clip in an editor if you want punchy Shorts. Workflow notes continue on Tips. Gravity and run-speed sliders that change how those clips feel are documented on Settings.
Desktop controls mindset
Desktop is the reference platform for hover injury popups and precise mouse aim. Use:
- Mouse look + click for aimed firearms and special tools
- Keyboard movement to line up hazard pushes without bumping unintended dummies
- Hover + V / Doctor Mode after each test
- R / Y when you want board-wide or auto revives instead of only the defibrillator
- First person for ankles and wrists; third person for cinematic falls
Keep the shop closed while learning bindings so you do not accidentally equip a Robux tool mid-test and confuse results. Shop context stays on Weapons and the weapons tier list.
Mobile and Tablet
Realistic Ragdoll Physics supports Mobile and Tablet. Touch aim is usable, but tiny limb targets are harder than on mouse.
- Lower Roblox graphics quality before stacking fire, miniguns, and crowds.
- Favor larger targets (torso, thighs) until you are comfortable.
- Use slow motion liberally — it forgives touch latency.
- Revive and reuse dummies instead of flooding the map; performance tips expand on Tips.
- Rejoin if ragdolls stretch or clip through floors after a heavy physics spike.
Doctor Mode and inspect still matter on touch devices even when hover is awkward — use the on-screen inspect control or V equivalent if your device maps a key. Confirm revive buttons in Settings rather than assuming desktop R / Y exist on every surface.
Console
Console play is supported. Expect stick aiming with whatever assist Roblox and the experience provide.
- Bind or remember inspect / Doctor Mode so you are not guessing injuries.
- Note which face buttons map to revive-all or auto-revive after each patch.
- Switch to first person for precision shots with pistols, snipers, or poison darts.
- Use third person when driving dummies into fans, cannons, or blenders so you can see clearance.
- Keep explosive chains shorter than on high-end PCs if frame time dips.
VR
VR is listed among supported platforms. Comfort varies by headset and locomotion settings.
- Start with slow, single-dummy tests before full hazard courses.
- Use slow motion to reduce motion sickness during fast launches.
- Prefer deliberate melee and placement tools (taser, freeze ray, balloons) over constant minigun spray until you know your comfort limits.
- Take breaks; physics sandboxes invite long sessions that VR does not always love.
Reset, revive, and session hygiene
Know the difference between clearing the board and reviving. A full clear starts a clean A/B test. R (revive all) or the defibrillator keeps damaged subjects in play so you can study recovery, zombie-style returns, or multi-stage injuries without spawning extras. Y auto-revive (when enabled) changes how aggressive the sandbox is about bringing bodies back — test it once per patch so it does not surprise a filmed take.
Session hygiene checklist:
- Enable Doctor Mode; press V; hover after each meaningful hit
- Note which tool and which body part you used
- Change one variable
- Revive with R / defibrillator before flooding spawns
- Check Settings and Updates if a binding or overlay suddenly disappears after a patch
Linking controls to goals
- Hunting Against the Wind? Practice fan alignment in third person, then inspect the landing. See Badges.
- Ranking tools? Run the same first-person limb test across pistols, snipers, and melee on Weapons.
- Spending Robux? Confirm passes on game passes after you know which controls you actually use.
- Watching friend-lobby rumors? Verify server size on Multiplayer status.
- Wondering about codes? There is still no codes menu — details on Codes.
Return to the Guides Hub anytime you need the full reading order. Solid controls — plus a Settings pass after every November drop — turn Realistic Ragdoll Physics from a noise toy into a repeatable experiment bench.
Frequently Asked Questions
Quick answers for Realistic Ragdoll Physics players.
How do I inspect injuries in Realistic Ragdoll Physics?
Enable Doctor Mode in Settings, hover damaged body parts for injury popups, and use V (or the current inspect binding). Confirm bindings after updates on the Settings guide.
What do R and Y do?
Community reports often cite R as revive-all and Y as auto-revive. Bindings can change — verify both in Settings after each patch.
Should I play in first person or third person?
Use first person for precise limb and head shots. Switch to third person to watch full-body tumbles, fan launches, and hazard chains. Many strong sessions use both in one experiment.
Does slow motion count as a control tip?
Yes. Slow motion is essential for reading bone breaks and multi-impact falls. Turn it on before stairs, fans, freeze breaks, and explosives — often via Settings sandbox sliders.
Is the game playable on mobile and VR?
Yes. Desktop, Console, Mobile, Tablet, and VR are supported. Lower graphics and limit stacked effects on weaker devices; use slow motion and fewer dummies for stability.
Where should I go after learning controls?
Deepen toggles on Settings, then practice on Weapons and Maps and Hazards. Use the Guides Hub for the full path.